Photography doesn’t have to be difficult – learn it with me
 Posted On
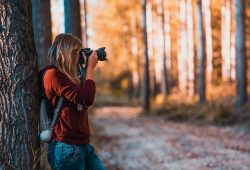
Photography can be an intimidating art to pick up. With a plethora of settings, buttons, and styles to understand, it’s easy to see why many would-be shutterbugs shy away from this creative outlet. I’m here to tell you that photography doesn’t have to be difficult. Whether you’re documenting your daily life or capturing stunning landscapes near your home, learning the basics of photography has never been easier.
Join me on this journey as we break down the art of photography into manageable steps so that you too can learn how a few simple techniques can help make your photos stand out.
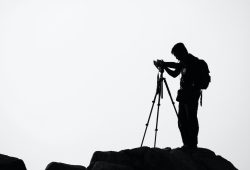
Step 1: Understand Your Camera
It may seem obvious, but the first step in leveling up your photography game is understanding your camera’s features and settings. While camera manuals and online resources are great starting points, don’t hesitate to ask fellow photographers about different shooting modes, aperture settings, or whatever else you need help with.
Remember, no question is too basic when starting out—after all, everyone starts somewhere.
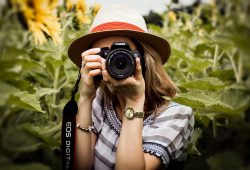
Step 2: Experiment with Composition
A basic composition rule in photography leading lines is the rule of thirds – an imaginary grid that divides your frame into nine equal parts by equally spaced horizontal and vertical lines. The idea is to place points of interest at the intersection points or along the lines themselves for a visually pleasing result.
Another helpful tip for creating captivating compositions is to remember the importance of negative space (empty areas in a photo) and balance between foreground and background elements. Additionally, play around with different perspectives by altering your vantage point — crouch down low, climb up high or go for an interesting angle.
Step 3: Master Lighting
Understanding how light falls on your subject can make a world of difference in your photos. Begin with natural light and observe how it changes throughout the day — soft morning light imparts a warm tone while harsh midday sun may cause unwanted shadows.
Also, consider experimenting with artificial light sources like lamps or even flashlight on your smartphone for indoor photography. Whichever lighting source you use, practice playing around with angles and distances until you achieve the look you’re going for.
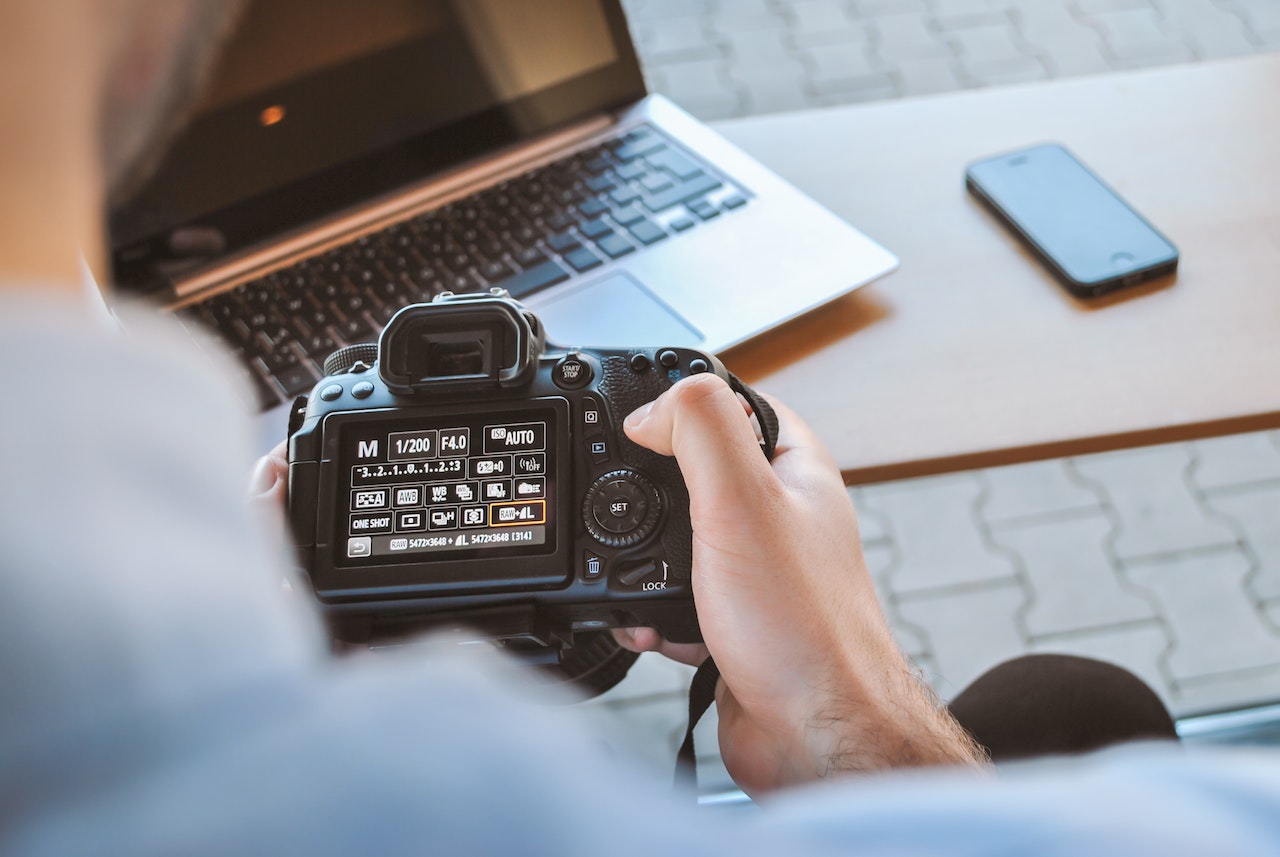
Step 4: Get Creative with Manual Settings
Don’t rely solely on your camera’s automatic mode. Dive into manual settings like shutter speed, aperture, and ISO sensitivity for more control over your shots.
Shutter speed determines the duration your camera’s shutter stays open, effectively controlling how much light enters through the lens. A faster shutter speed freezes action, while slower speeds create motion blur perfect for waterfalls or city lights at night.
Aperture controls the depth of field — the area that appears sharp within an image — which contributes to the overall focus and is pivotal in portrait or macro photography.
Lastly, ISO sensitivity tells us how sensitive our sensor should be to light – higher ISO equals greater sensitivity however can lead to greater image noise (graininess).
Step 5: Practice, Practice, Practice
Photography is like any other skill; it requires practice to improve. Shoot as often as possible in various lighting conditions and scenarios; try out different compositions and experiment liberally with manual settings. Reviewing and critiquing your images will aid in learning where improvements can be made.
Remember that every expert photographer started somewhere! Photography doesn’t have to be difficult when broken down into manageable steps. As you continue learning and practicing these skills over time, you’ll find yourself transforming into a proficient photographer capable of capturing life’s beautiful moments.